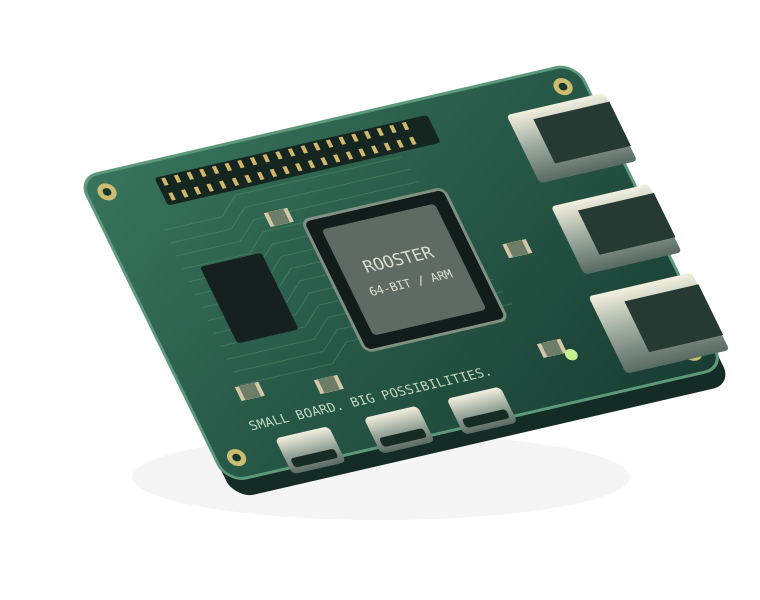
Download the compressed disk image and its SHA-256 checksum when the release files are listed on this page. Verify the file before flashing.
02
Write the image
Use Raspberry Pi Imager’s “Use custom” option to write the .img.gz file to your SD card or USB drive. Writing an image erases the selected device.
03
Boot your Raspberry Pi
Insert the prepared media into your Pi 4 or 5 and power it on. Start with the server base, then add the desktop or services you need.
How do I verify a download on Linux?
Open a terminal in the folder containing your download and run the command below, replacing the filename with your downloaded file. Compare the result with the published SHA-256 checksum.
sha256sum rooster-linux.img.gz
The full checksum must match exactly. If a SHA256SUMS file is provided, use sha256sum -c SHA256SUMS instead.
RASPBERRY PI / REQUIRED FIRST-BOOT SETUP
A fresh image. Your own identity.
The default login details and hostname are shared across copies of this image. They are starting values, not personal credentials. Complete these steps after your first login, before enabling remote access for others or exposing services to the internet.
Commands below use my-rooster-pi and myuser as examples. Choose a different hostname for each Pi and your own lowercase username.
1. Change the default password
While signed in to the image’s default account, set a new password known only to you. Enter the current password, then the new password twice.
passwd
Do this immediately, even if you plan to replace the default account in the next steps.
2. Set a unique hostname
Give this Pi its own name on your network:
sudo hostnamectl set-hostname my-rooster-pi
Then open /etc/hosts with your preferred editor. If a 127.0.1.1 entry contains the old hostname, replace that name with your new one. Leave the localhost entries intact.
127.0.1.1 my-rooster-pi
Changing the hostname does not change the username or password. Your shell prompt may show the old name until you sign in again.
3. Create your own user
Create a personal account and give it administrator access. The first command prompts you to set its own password.
sudo adduser myuser
sudo usermod -aG sudo myuser
This creates a new account; it does not rename or remove the shared account. If you need hardware-specific access, review the old account’s supplementary groups and grant only the access you need.
4. Confirm the new login
Open a separate console or terminal session, sign in as your new user, and check administrator access:
sudo -v
After the new account works, move any files you need and update services or scheduled jobs that use the default account. Sign out of its sessions before retiring it from your new administrator account.
Do not remove the default account until you have verified that your personal login and sudo both work. A password change alone does not replace the shared username.
How do I retire the default account?
From the new, tested administrator account, after signing out of the old account and moving any services away from it, remove the old login with:
sudo deluser DEFAULT_USERNAME
Replace DEFAULT_USERNAME with the actual shared username included in your image. This removes the login while leaving its home directory by default. Preserve any needed files first; retained files remain owned by the old numeric user ID. Do not remove your new account or a system service account.